Custom Dashboards
- 2 Minutes to read
- Print
- DarkLight
- PDF
Custom Dashboards
- 2 Minutes to read
- Print
- DarkLight
- PDF
Article Summary
Share feedback
Thanks for sharing your feedback!
Custom Dashboards give you the ability to add and arrange a number of monitors and widgets . Here is the process of creating a new dashboard, adding widgets, and its different options and settings.
To view the Custom Dashboard page, go to the Monitoring tab and click on the Dashboard link.

Default Dashboard
Each account has a default Dashboard. It includes useful data featuring alerts, errors and logs, and Web app performance. You can customize the dashboard based on your preference.

Creating a New Custom Dashboard
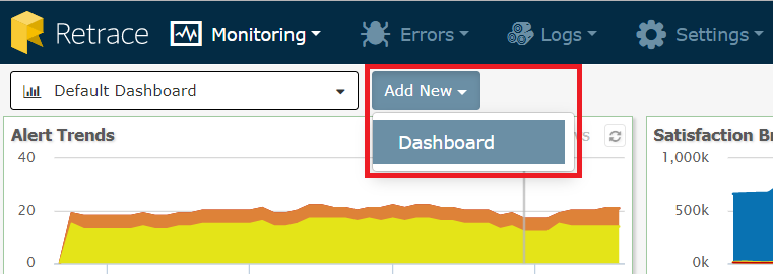
To create a new custom dashboard, click on the Add New button and click on Dashboard.
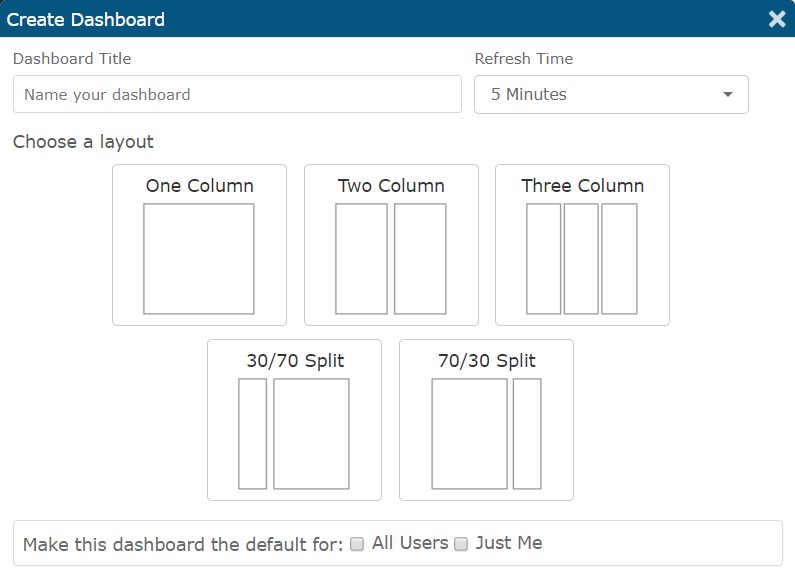
Choose a Layout
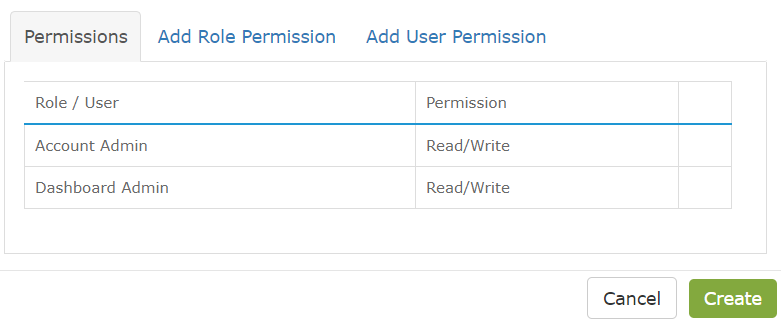
Create a name for your dashboard and select a layout option. There are five layout options to choose from. You can choose whether to have this Dashboard as a default for all users in your account or just for you. Also, you can add role and user permissions. You select the user’s name and its permission whether Read/Write or Read Only.
Custom Dashboard Options
To configure an existing dashboard, use the highlighted features as shown below. You can refresh, share, edit, delete through its settings, collect data from a specified date range and expand the dashboard.

Widget Options
To configure a widget, click the Edit Mode button. Once on edit mode, you can add a widget and can control each individual widget on the dashboard.

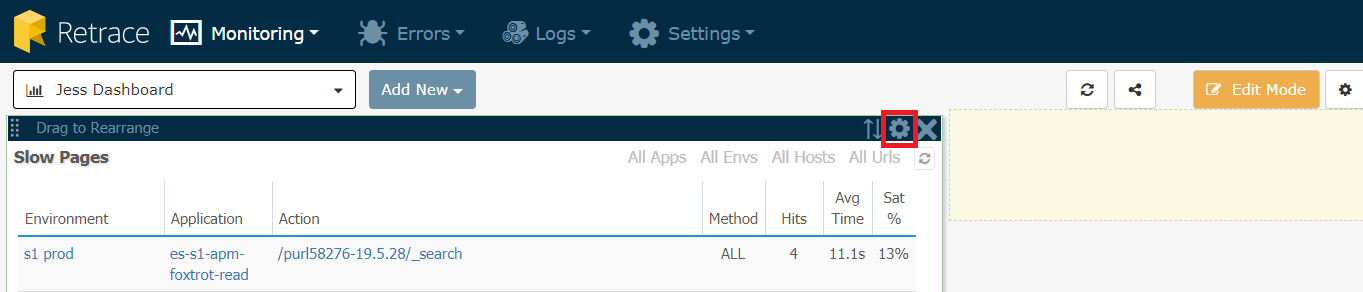
Widget Settings
Click on the gear icon of a chosen widget to bring up the widget's settings. Its settings will vary based on the widget type.
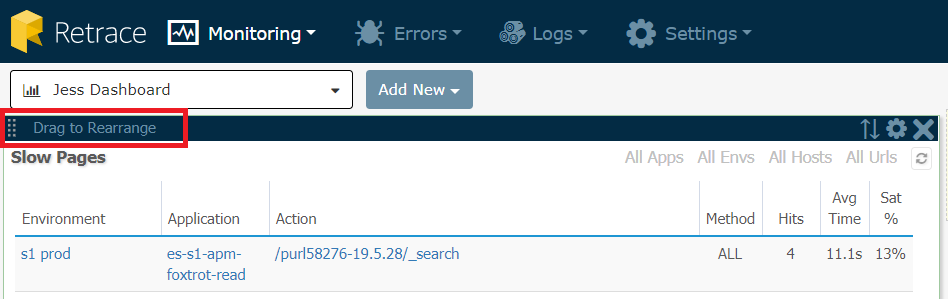
How to Rearrange Widgets?
Hover and drag the top bar to rearrange the widgets.
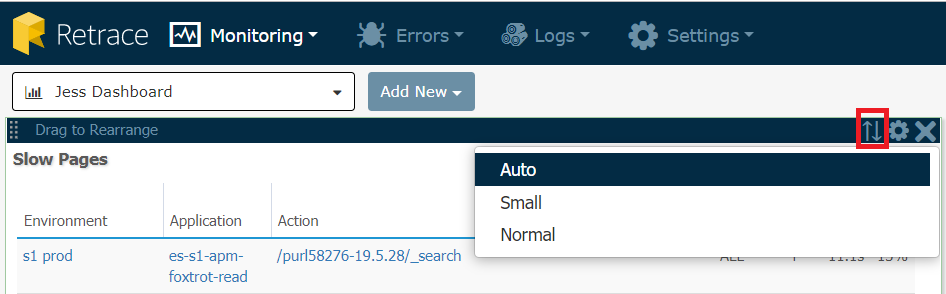
How to Resize Widgets?
Click on the highlighted icon to resize a widget. Resizing option depends on the widget type and based on the data it contains. Choose auto-size, small or normal based on your preference.
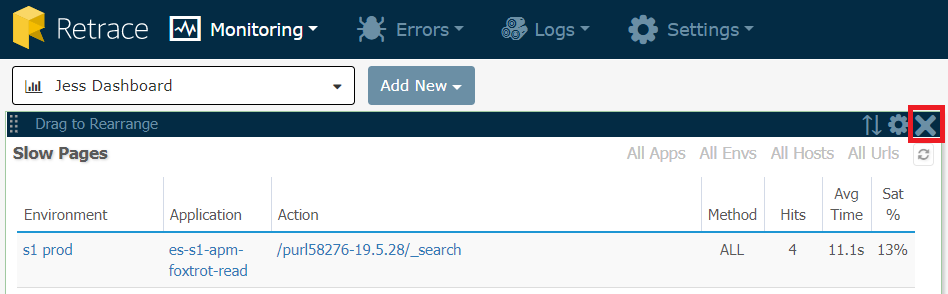
How to Remove Widgets?
Click on the X icon of a chosen widget to remove it.
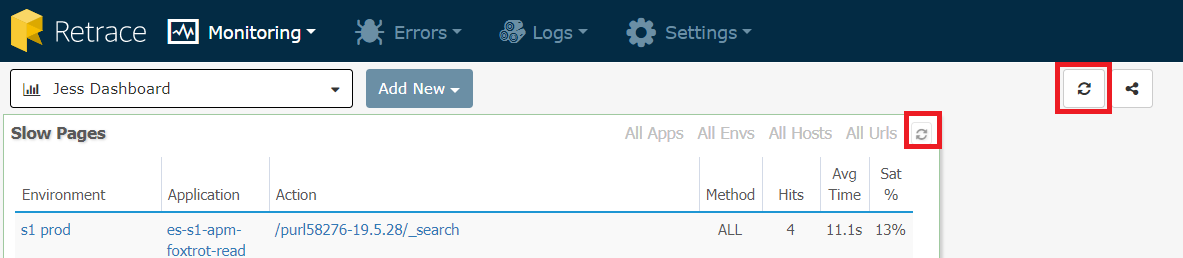
How to Refresh Widgets?
You can refresh the entire dashboard using the icon at the upper portion of the screen. Also, you can refresh an individual widget using the refresh icon as shown below.
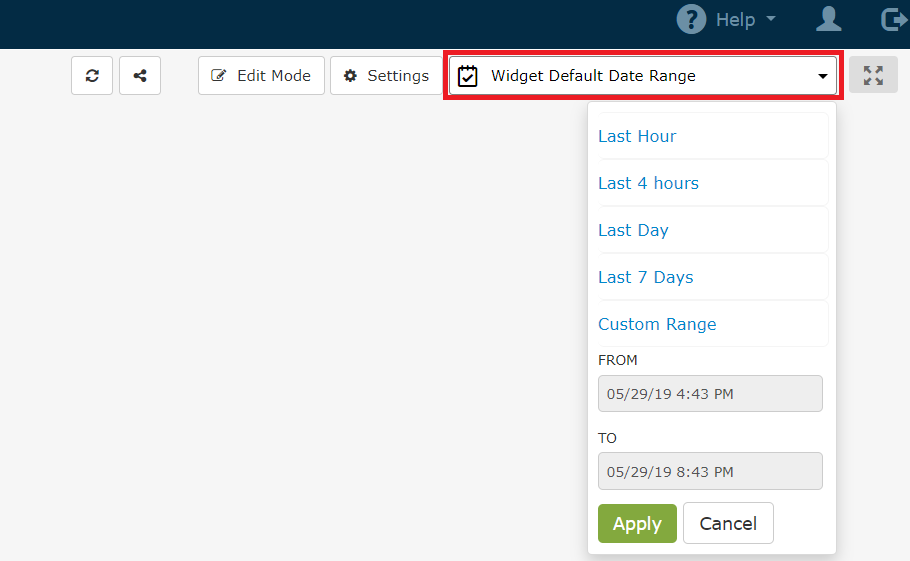
Date Range
Choose the date range of your choice. It will automatically override any individual date range settings that you set per widget. This is used to examine the correlation between different servers, services, or apps.
Fullscreen View
Click the fullscreen icon to display the dashboard in fullscreen.

Was this article helpful?